We've been making our own yoghurt for a few years now and we're pretty happy with our method now. It's quick and easy once you get the hang of it. Here's how.
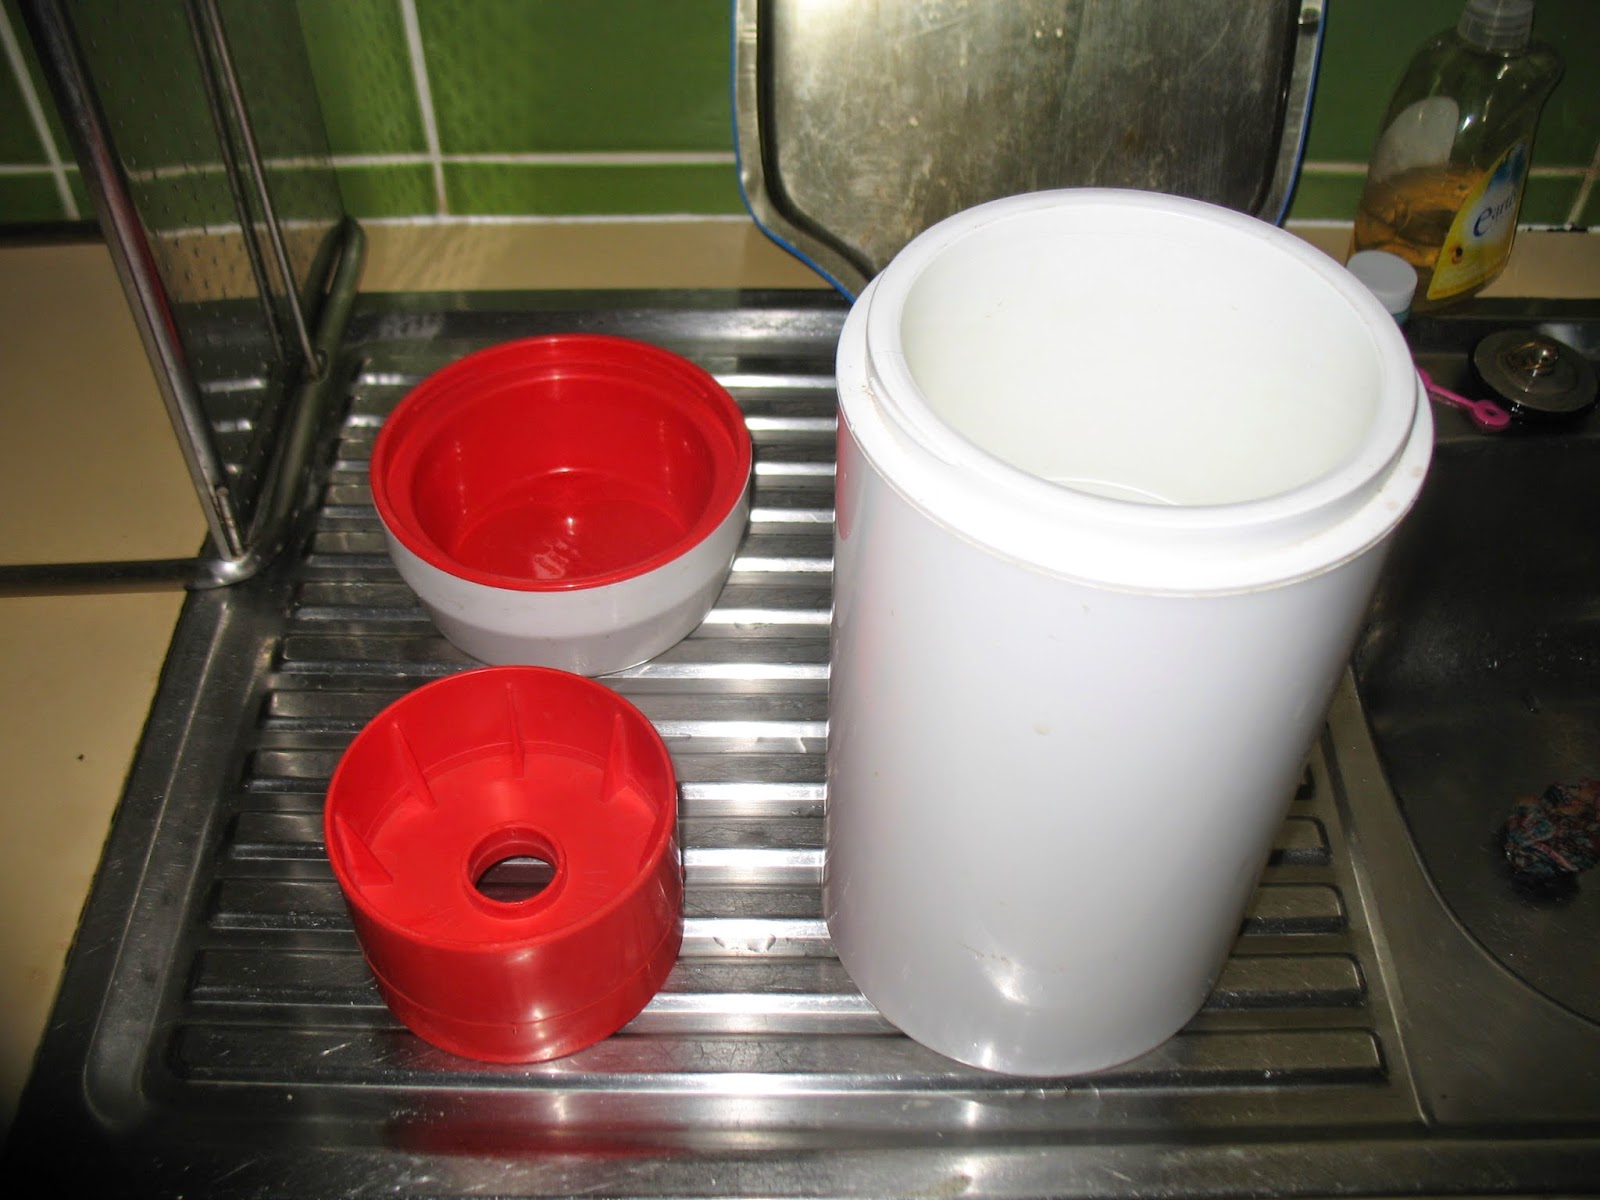
You'll need some starter (a few tablespoons of quality plain yoghurt) and milk. Don't buy expensive powdered starters, all you need is some yoghurt. Just don't use flavoured ones, use plain. We do ours in one litre batches but you can do less if you want. You'll also need a container to put the yoghurt in and an insulated container to fit that inside of. We use a 1L glass jar and an Easiyo maker or similar which the jar sits inside.
A 'pot watcher' also comes in handy. This is a glass disc which rattles when the milk is coming to a boil and avoids overflowing milk.

Firstly, bring the milk to a boil in a saucepan with pot watcher in. Turn it down and let in simmer boil for 5-10 minutes. This step is to reduce the milk a bit so you'll get nice thick greek style yoghurt without the need to add powdered milk. Turn off the heat and leave to cool. When the milk is cool enough to put your finger in and leave it in without burning (5-10 minutes) the milk is ready. Some people use thermometers for this but we've found the finger test works well and is simpler.

Boil the kettle while you're adding the milk to the yoghurt. To mix the two I use a licky spoon (a soft spatula). With the yoghurt in the bottom of the jar I add a little bit of milk at first (say 100ml) and stir it in well, then add another 400ml and stir again. Try to scrape around the jar to get all of the last brew mixed in. Then top up with the rest of the milk and stir well again. As soon as this is done put the lid on the jar and fill your container with the right amount of boiling water (enough to put the jar in without overflowing) and place your jar inside and put the lid on. There should be water up to the level of the yoghurt.


The photo above shows the 'false floor' of the container. This is what the jar sits on.
We usually leave this overnight, 8 hours plus is needed. If you open it up and it's still runny don't worry, just leave it another 4-8 hours and it should come good.

That's it, it's not too hard. Sure, you'll have failures but keep at it and you should be able to get it right every time. It's cheap and it's yum. If you want thicker yoghurt still (or a sour cream replacement) strain it through muslin for a few hours. And if you want sweeter yoghurt just add jam, honey, maple syrup, fruit, etc. This yoghurt costs the same as your milk, so for us it's about $1.30 a litre.
And it's thick!

I love homemade yogurt! Freeecycle yielded me an electric yogurt maker. Then, I discovered I could use my Excalibur dehydrater to make yogurt. Yes, I know both use electricity. However, one of these day, I will make it like you do. It is good to have an alternative to using electricity.
ReplyDeleteHe used an electric kettle...
DeleteGreat post! There are so many different recipes, I didn't know that heating the milk would thicken the yoghurt. I have given up using fresh milk and just make it with milk powder, which is very cheap and easy. The Easiyo thermos is very handy and I see them secondhand all the time, I got another one from the dump shop for $2 so now I can make twice as much yoghurt!
ReplyDelete